How to Setup Printer on Linux ? Setp-By-Setp

This article teaches you how to manually add a printer to your Linux system if the system doesn’t automatically detect your printer.
Even if the future is here and e-ink e-ink and AR technology can be realistically applied, we will still use printers. Printer manufacturers haven’t been able to do enough to make their proprietary printers completely standardized to pass information with a variety of computers, to the point where we need a variety of printer drivers, on any operating system. The Printer Working Group (PWG) of the Institute of Electrical and Electronics Engineers Information Science and Technology Division (IEEE-ISTO) and the Open Printing Technology Organization (OpenPrinting.org) have a long history of working together to make it easy for people to print (with any type of printer). The convenience is that many printers can be automatically recognized for use without user configuration.
If your printer is not automatically detected, you can find out how to manually add a printer to your Linux system in this article. This article assumes that you are using the GNOME graphical desktop system, and the setup procedure applies to KDE or most other desktop systems.
Printer Drivers
Before you try to print a file to your printer, make sure that you have an updated printer driver installed on your Linux system.
There are three main categories of printer drivers that you can try to install:
Open source Gutenprint drivers supplied as installers and bundled with your Linux system.
Specialized drivers provided by the printer manufacturer
Printer drivers developed by third parties
Open source printer driver libraries that can drive more than 700 printers are worth installing, and there may be a driver for your printer in there, which may automatically set up your printer (and you can use it).
Installing open source driver packages (libraries)
Some Linux distributions come with open source printer driver packages pre-installed, if not, you can use a package manager to install them. For example, on a Linux system with Fedora, CentOS, Magela, and similar distributions, execute the following command to install it:
$ sudo dnf install gutenprint
For the Hewlett-Packard (HP) family of printers, you will also need to install the Hewlett-Packard Graphics and Printing System Package for Linux (HPLIP). On Debian, Linux Mint, and similar systems, use the following command:
$ sudo apt install hplip
Installing the Manufacturer’s Driver
In many cases, the open source printer driver will not be able to drive the printer because the printer manufacturer uses a non-standard interface protocol. In other cases, the open source driver can drive the printer to work, but will lack certain vendor-specific features. In these cases, you will need to visit the manufacturer’s Web site to find the appropriate Linux platform driver for your printer model. The installation process varies, so read the installation guide carefully and install it step-by-step.
If your printer is not supported by the manufacturer at all, you may also have to try third-party driver software for that printer model. Such third-party drivers are not open source, but neither are the proprietary drivers for most printers. If you need to spend extra to get help services from the vendor to get the driver installed and use your printer, it’s heartbreaking, or you simply throw the printer away, at least you know you’ll never buy that brand of printer next time.
Common Universal Print Driver System (CUPS)
The Common Unix Printing System (CUPS) was developed by Easy Software Products in 1997 and acquired by Apple in 2007. It is the open source base package for printing on the Linux platform, and most modern distributions provide a customized interface for it. Thanks to the CUPS technology, you can find printers connected to your computer through the USB port, or even shared printers connected to the same network.
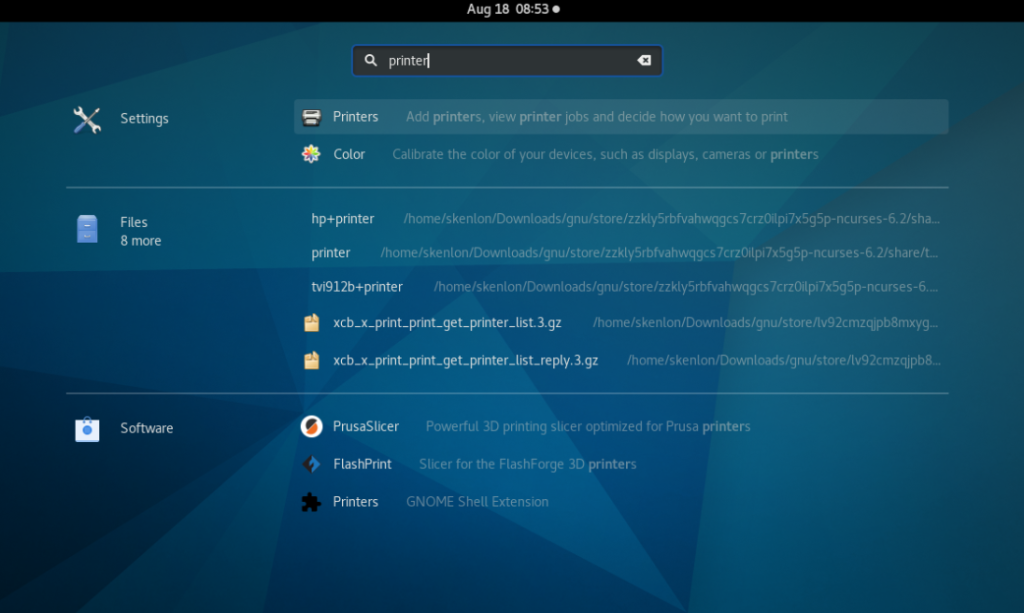
Once you’ve installed the required driver packages, you’ll be able to add your printer manually. First, connect the printer to a running computer and power on the printer. Then find and open the Printers settings from the Activity screen or from the Applications list.

Based on the driver package you have installed, it is possible for your Linux system to automatically detect and recognize your printer model and use your printer without additional setup.

Once you have found your printer model in the list, set it to use this driver, congratulations you are ready to print with it on Linux.
(If your printer is not automatically recognized, you will need to add it yourself. In the “Printer” settings interface, click the unlock button in the upper right corner, enter the administrative user password, and the button will be converted to an “Add Printer” button.
Then click this “Add Printer” button, the computer will search for the connected local printer model and match the corresponding driver. If you want to add a network shared printer, enter the IP address of the printer or its server in the search box.

Select the printer model you want to add, click the “Add” button to add the printer driver to the system, you can use it.


